Wearing jewelry is a fun way to accessorize clothes, but putting it all in a jewelry box can end up confusing. The large items are tangled together, the small items are hidden at the bottom of the pile, and pairs of earrings are separated. Fortunately, you can easily view all your jewelry and put everything together by organizing your jewelry boxes!
Empty the jewelry box. The best way to start organizing your Jewelry Display Organizer Box is to empty it completely. This way, you can view all the content you have and sort it, so it will be sorted when you put it back in the box.
Before emptying the jewelry box, you may want to place a towel on the dresser or table to avoid scratches on the jewelry and dresser.
2.Untie your jewelry if it's knotted together. Necklaces, bracelets, and long earrings can easily be wrapped in jewelry boxes. You may be able to separate them by hand, but if you have difficulty untying the knot from the chain, try applying a little baby oil to the knot to help loosen it.
You may need to slide a safety pin or pin into the center of the knot, especially if the chain is very thin.
3.Group similar jewelry items together. Place all the necklaces in one area, then all the bracelets in another area, then the rings, and so on. Beyond that, how you sort your jewelry will depend on what makes the most sense to you.
For example, some people prefer to group jewelry by color, while others group jewelry by style or type of metal.
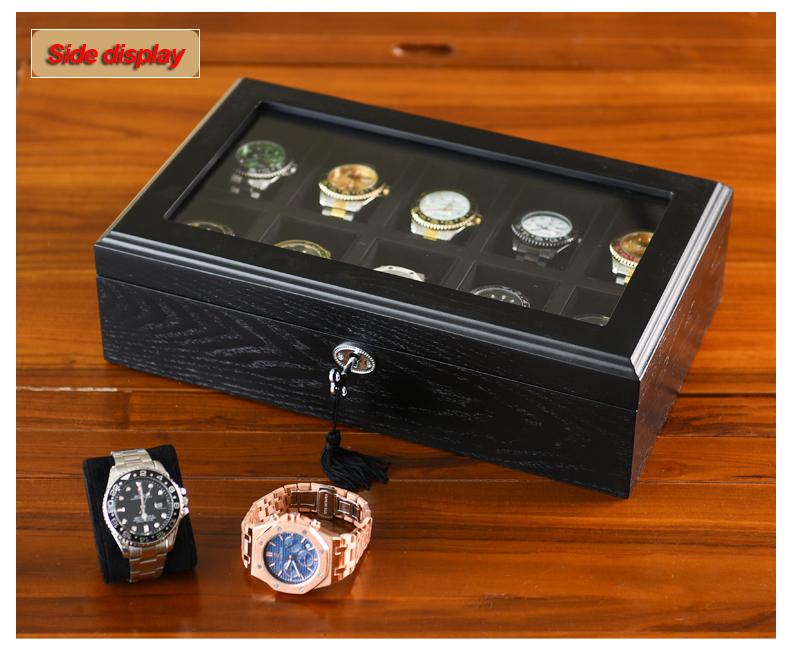
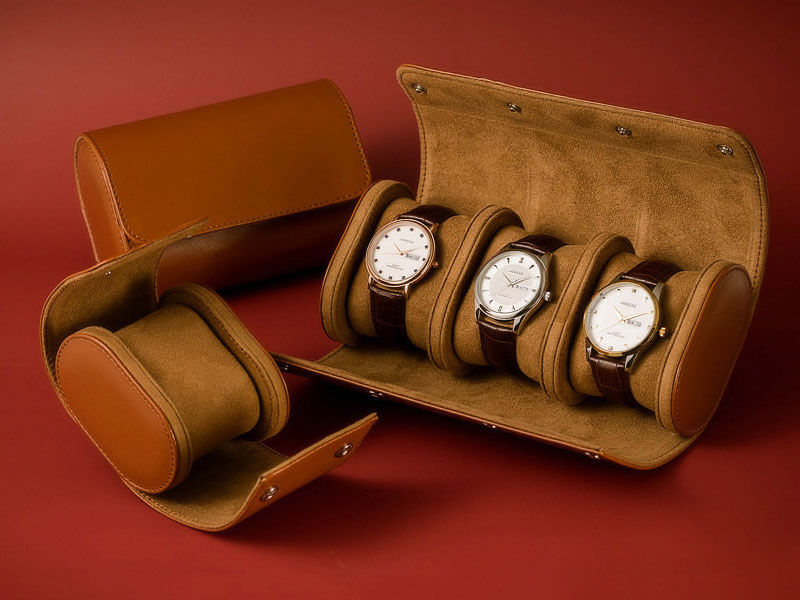
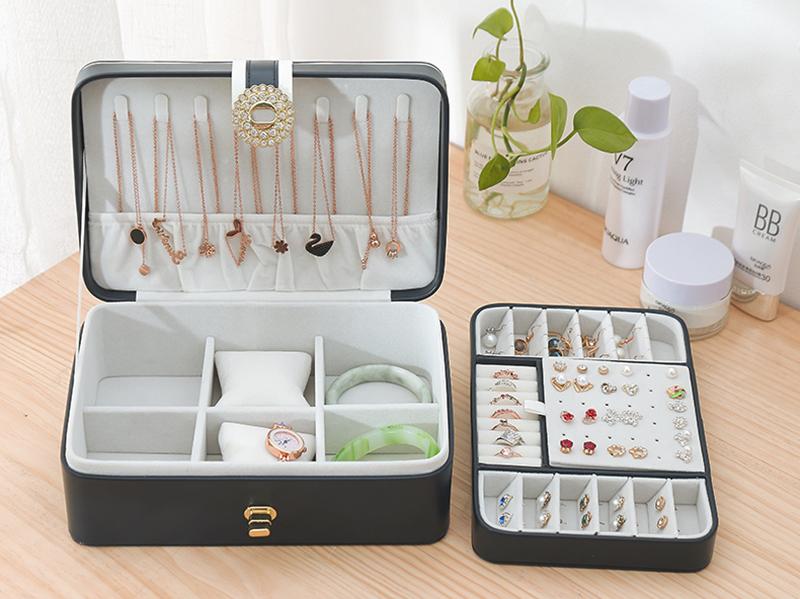
4.Use a jewel-box organizer to separate items. You can buy a jewelry box in almost any size online or at a craft store. Look for a storage case that can hold jewelry of different sizes.
For example, depending on the size of a jewelry box, organizers should have longer slots of different sizes, compartments, or even drawers.
5.If you're crafty, make your own organizer out of cardboard strips. You can make your own divider by cutting the cardboard into the desired shape. Cut the cardboard to fit into your jewelry box, then cut a notch in the cardboard and hold the two pieces firmly together where they meet.
This will give you the freedom to customize the jewelry box based on the jewelry you own.
6.Pin your earrings on a ribbon to keep them in order. If you want to keep the earrings together but don't have a large jewelry box, cut a small piece of heavy ribbon, such as faille, and attach each pair of earrings to the ribbon. Then, you can put the ribbon in the jewelry box.
This will help keep even the tiniest earrings from falling into the bottom of the jewelry box.
If you don't have a ribbon handy, use a small piece of fabric instead.
7.Place the rings on a circular binder to keep them together in a jewelry box. If you have a large number of rings, place them on a circular binder to prevent rings from becoming cluttered. Place the ring on the clamp and close it to secure it.
You can take one of the clips out of a 3-ring binder, or you can purchase the rings separately from an office supply store.
8.Wrap the necklace on tissue paper to avoid tangles. Tissue paper is a good way to separate necklaces, especially if you have thin chains that you don't use very often. Fold each necklace on paper 1-2 times, then place tissue paper in a jewelry box. You can also use pressure-sealed plastic wrapping paper instead of tissue paper.
9.Organize your jewelry boxes at least once a month. Take a little time every couple of weeks to organize so that your jewelry doesn't get messy again. Replace anything in the wrong position and smooth out the strapping chains.
In addition to keeping your jewelry organized, this will help you avoid forgetting items you don't wear often and make you more likely to spin them.
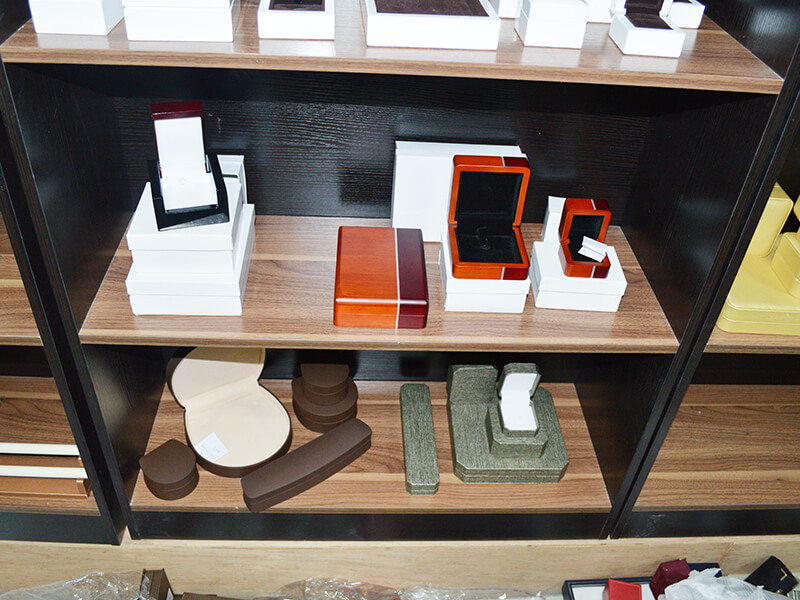
We are Jewelry Boxes Suppliers. Please feel free to contact us.